



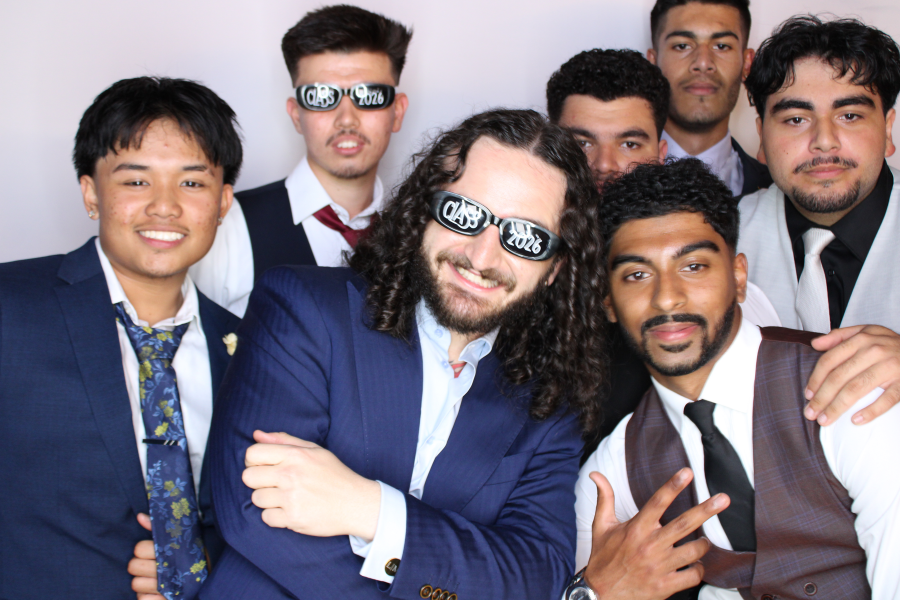
Open Air Photo Booth Overlay and Year Group Branding Ideas for Sydney Year 12 Farewells
A good open air photo booth overlay for a Sydney Year 12 farewell does two jobs at once, it carries the school's colours or crest, and it carries the graduating cohort's own identity, not a generic "Class of 2026" template pulled straight off a shelf. At Shutter360, it's the first thing we ask about once a school confirms a booking. Year advisors briefing a supplier for the first time usually focus on the booth itself, the props, the backdrop, and leave overlay design as an afterthought decided the week before the event. That's backwards. The overlay is the one part of the night every guest takes home. Here's what actually goes into one, and when to lock it in.
Key Takeaways
|
Factor | 2x6 Strip | 4x6 Postcard |
|---|---|---|
Shape | Tall and narrow | Wide, landscape or portrait |
Photos per print | Two to three, stacked vertically | One larger photo |
Best for branding | Small header and footer strip only | A full crest or cohort name with room to breathe |
Sessions per guest | Two strips per session | One postcard per session |
What Should Go on a Year 12 Farewell Photo Booth Overlay?
Start with the four essentials and stop there. School name or crest, the graduation year, a date or event name, and one colour palette pulled from either the school or the cohort's own branding. A hashtag works if the year group has already adopted one for their formal, but skip it if nobody's actually using it, dead hashtags just clutter the print. Sponsor or supplier logos rarely belong on a school formal overlay the way they might at a corporate event. This print is going home with a student, not into a marketing report. Keep the layout simple enough that the photo stays the focus and the branding sits at the edges, not across the middle of someone's face.
School Colours or Year Group Colours: Which One Leads the Design?
Ask the formal committee before you ask the supplier. That order matters. Plenty of Year 12 cohorts run their own colour scheme for jumpers, banners and formal merchandise that's different from the school's official palette, and the overlay should match whichever one the students actually recognise as theirs. We've built overlays around a cohort's own colour choice instead of the school crest more than once, because that's what the graduating year wanted their photos to say. If the school and the year group palettes clash, the year group version usually wins for a farewell specifically, this is their night, and the overlay should read that way. Save the school colours and crest for the formal invitations if there's a difference to preserve.
How Far Ahead Should You Brief Your Supplier on Overlay Design?
Earlier than most committees think. Weeks earlier. A rushed overlay, built the week of the formal, usually means a supplier reusing last year's template with the date swapped over. We send a pre-event briefing form four weeks out specifically to capture branding details like this, logo files, colour codes, cohort names, so there's time for a first draft, feedback from the committee, and a final sign-off with two weeks still on the clock. That timeline also covers the case where a year advisor needs to check with the school office before a crest can be used. Leaving overlay branding until the final week is the fastest way to end up with a generic print nobody remembers designing.
Strip or Postcard: How Print Format Changes the Layout
An open air photo booth booking gives guests a choice between two 2x6 strips or one 4x6 postcard per session, and the overlay has to be built for whichever one the cohort picks, not both. A strip is tall and narrow, so branding sits as a header and footer around two or three small photos stacked vertically. A postcard is wider, which gives a crest or a full cohort name room to sit properly instead of getting squeezed into a corner. Choose the format first, then design the overlay for it, not the other way around.
The Overlay Mistakes That Make Prints Look Rushed
Three things do the most damage, and they're all easy to avoid with enough lead time. Too many logos competing for the same corner of the print. Text set so small it disappears once it's actually printed rather than viewed on a screen. And a colour palette that changes between the digital preview and the final print because nobody checked a proof beforehand. None of these are hard fixes. They just need a supplier who asks for a proof-check step before the night, not after. Here's the order that avoids all three:
Confirm the print format, strip or postcard, before the overlay is designed.
Send logo files, colour codes and the cohort's preferred name or hashtag during the briefing for your open air photo booth booking.
Review a proof and sign off on colours before the design goes to print for the night.
Frequently Asked Questions
Can we use our own graduation year colours instead of the school's official colours?
Yes. Most suppliers design to whatever palette the committee provides, and it's common for a Year 12 cohort's own colours to differ from the school's. Just confirm which one before the design brief goes out, not after.
How much does overlay customisation cost for an open air photo booth?
Standard overlay branding is included in an open air photo booth hire booking. A Premium Collection backdrop is available for an extra $100 + GST if the committee wants a step up from the Signature Collection backdrop that comes standard.
What file formats does a school need to provide for the overlay design?
A high-resolution PNG or vector file of the school crest or logo, plus the cohort's colour codes if they've settled on a palette. If the school only has a low-resolution logo on hand, flag it during the briefing so there's time to source a better version.
An overlay that actually reflects the cohort, not a recycled template, is one of the easiest ways to make a Year 12 farewell photo booth feel personal rather than generic. If you're briefing a supplier for your school's formal, get a quote for open air photo booth hire in Sydney and send through your branding early enough to get it right.
Ready to Capture Every Moment?
Bring the WOW factor to your next event with Shutter360's photobooth experience. Enquire today and let's make it unforgettable.